Steam and gas turbines
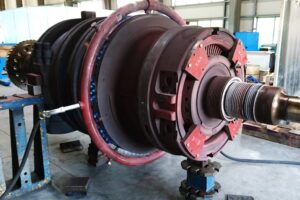
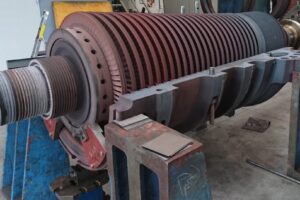
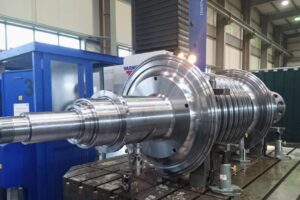
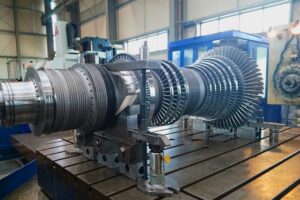
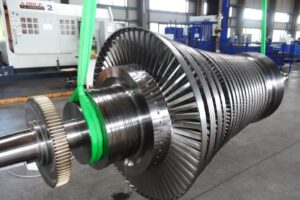
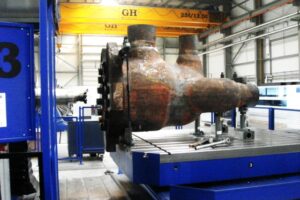
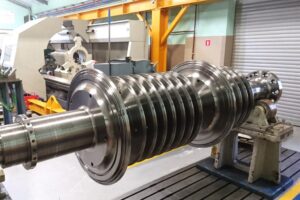
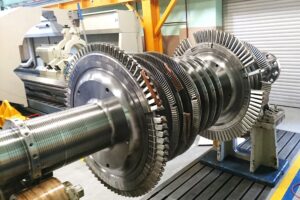
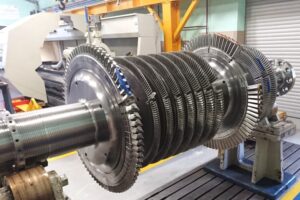
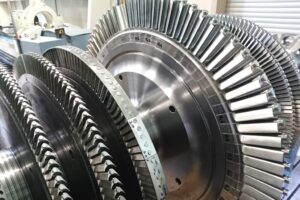
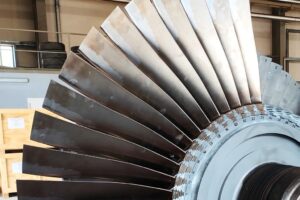
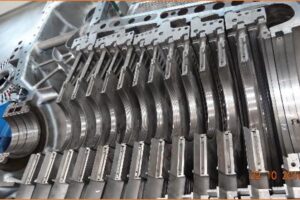
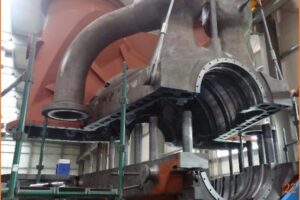
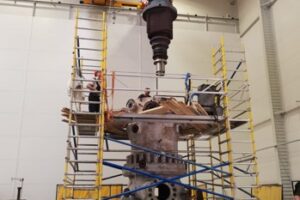
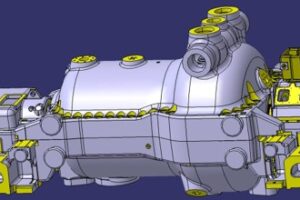
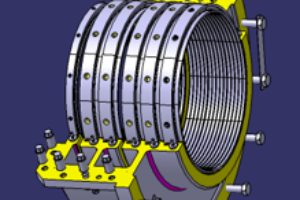
Our services include the modernization and installation of steam and gas turbines, as well as the production of elements according to the original or based on our reproducing documentation. Professionally executed regeneration/modernization of turbines allows for the restoration or enhancement of their full efficiency.
-
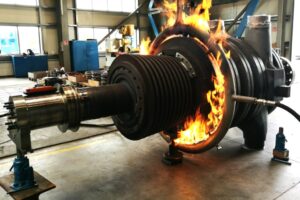
The first stage of the overhaul is the disassembly of the turbo unit, which we perform at the customer’s site. The core is then transported to our facility where, after removing the transport protections and dismantling the casing, the rotor is removed from the casing. Next, piston sealing rings, nozzle boxes, sockets for temperature probes, and other small components are disassembled. In the case of required heat treatments, it may be necessary to dismantle labyrinth seals and stationary blades. We are capable of removing shrink rings using a gas torch (shown in the picture).
-
In the classical approach to valve disassembly, we follow ten steps:
- Valve disassembly
- Visual inspection of valve components
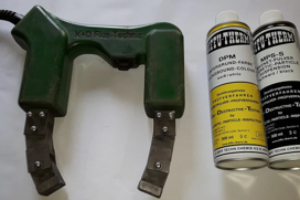
- Magnetic particle testing
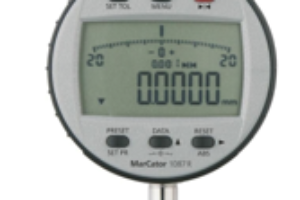
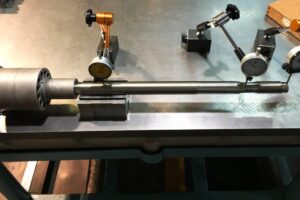
- Measurement of component geometry
- Technical assessment – determination of whether the part is usable or needs replacement
- Removal of hardened layers (hardfaced)
- Dimensional rebuilding
- Legalization
- Holes calibration
- Ready assembly
-
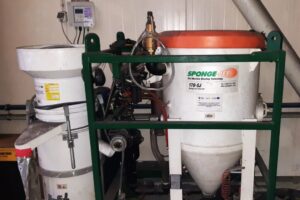
Cleaning turbine components is a crucial part of the overhaul process – every turbine element must be cleaned before undergoing inspections and measurements. The most commonly used method by us is the use of abrasive blasting, employing: glass beads, aluminum oxide, or the “Sponge Jet” method. The cleaning process ensures the removal of debris without compromising the integrity of the original material structure.
-
We perform measurements of turbine component geometry and prepare full documentation based on them. These measurements are aimed at determining the scope of further repair work. Decisions regarding the extent of work are made based on these measurements. For large-scale measurements such as casings and LP rotors, we utilize a Leica laser tracker, which enables measurements within a radius of 10 meters. In addition to standard measurements, the tracker is also used for aligning turbine components within the casing.
-
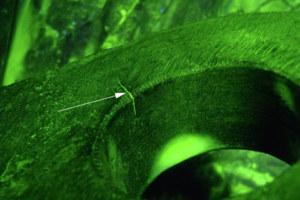
Examinations of turbine components are carried out to detect discrepancies such as cracks, porosity, and any material discontinuities. The examinations are conducted on all accessible surfaces. Any discrepancies found are marked on the part and described in the inspection certificate 3.1 according to EN 10204. The non-destructive testing (NDT) methods used by us include:
- Magnetic Particle Testing (MT)
- Liquid Penetrant Testing (PT)
- Ultrasonic Testing (UT)
- Radiographic Testing (RT)
- Eddy Current Testing (ECT)
- Visual Testing (VT)
-
Metallographic examinations are conducted to examine the microstructure of metals. Thin layers of material, called replicas of the structure, are taken from the surface of the component. Examination of these samples allows for the assessment of the stability of the material structure and determination of its technical usability.
-
To determine the mechanical properties of a component, such as:
- tensile strength
- yield strength
- impact toughness
- elongation
- reduction in area
- hardness,
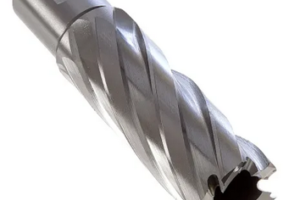
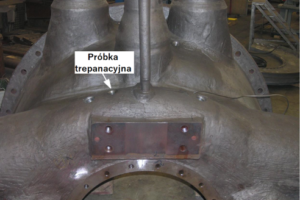
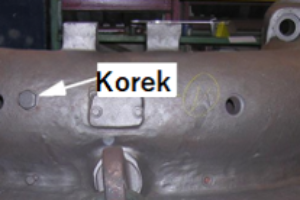
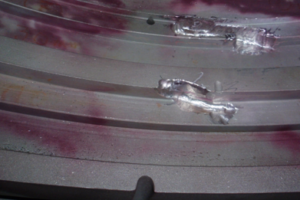
samples in the form of prepared material fragments are extracted from the component using trepanning drills. The holes created in the component as a result of sampling are then sealed with special plugs.
-
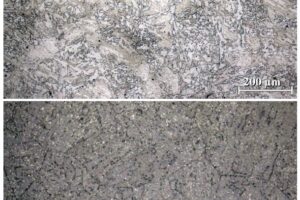
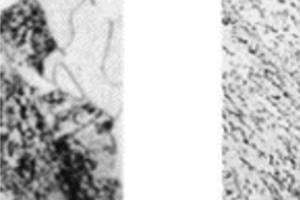
The image shows the material structure before and after revitalization, demonstrating the achieved grain refinement effects. Of course, the obtained effects translate into an increase in the mechanical properties of the material such as tensile strength (Rm), yield strength (Re), and impact toughness (KV).
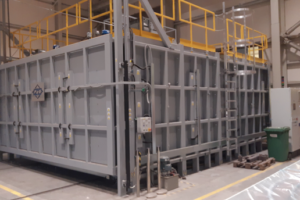
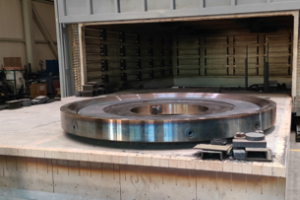
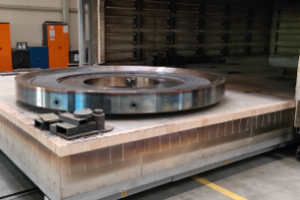
Our revitalization capabilities are defined by the following furnace parameters:
- Length: 11,000 mm
- Width: 7,500 mm
- Height: 4,000 mm
- Load capacity: 110 T
-
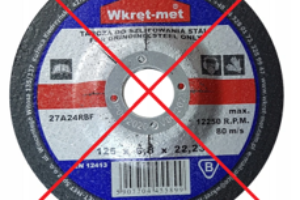
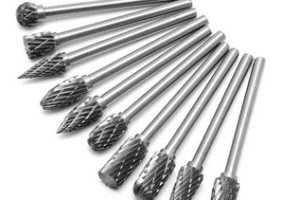
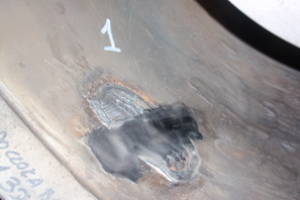
The removal of defects and inconsistencies resulting from welding is carried out through manual milling with octagonal cutters, which limit localized heat input – grinding discs are not used. For allowable inconsistencies, we employ the process of blending, whereas for defects that can be removed, milling and blending are utilized.
-
Detected discrepancies in the component are also repaired through welding. After each welding, the welds are re-examined non-destructively, and hardness distribution of the component is conducted in the following areas: base material, heat-affected zone, and weld.
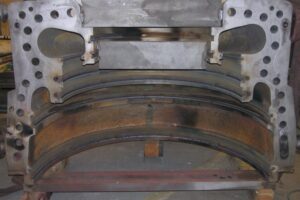
Additionally, we perform rebuilding of functional surfaces through hardfacing. Below is an example of rebuilding the slots under the blades and turbine diaphragms. Welding works are carried out according to recognized WPQR technology.
-
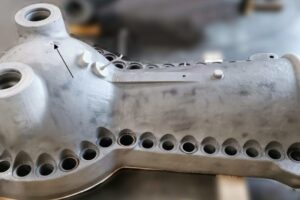
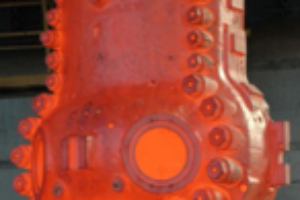
After welding repair, magnetic particle testing, and hardness testing of repaired areas, the repaired casing undergoes annealing. Annealing involves heating the component, holding it at temperature, and then slowly cooling it down.
Our annealing capabilities depend on the dimensions of the furnace chamber, which are: 5000mm x 7000mm x 1800mm.
-
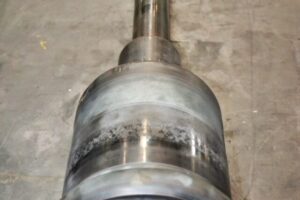
As part of the machining of the rotor, specifically its legalization, we carry out the following repairs:
- Refurbishment of the thrust bearing disk surface
- Refurbishment of bearing journals
- Refurbishment of oil seal surfaces
- Blade grooves – legalization
- Grooves for sealing strips – legalization
Maximum dimensions of the rotor:
Length: 7,000 mm
Diameter: 2,300 mm
Load capacity: 8 tons
-
As part of the mechanical processing of the casing, specifically its legalization, we carry out the following repairs:
- Refurbishment of parting surfaces and profile lowering
- Internal borings
- Socket machining for centering inserts
- Shanks for pitch bolt nuts
- Sealing surfaces
- Lugs and suspensions
- Sockets for probes
- Calibration of threaded holes
All measurements are performed using a Leica Tracker and recorded in measurement metrics.
Boring machine:
- Horizontal traverse (X): 15,500 mm
- Height (Y): 4,500 mm
- Spindle extension (Z): 3,000 mm
- Weight: 80t
Lathe:
- Height (Z): 5,500 mm
- Turning diameter (X): 8,000 mm
- Weight: 100t
-
Assembly of units and subassemblies is carried out according to documentation, instructions, or client’s orders, or according to our own procedures or instructions developed based on provided technical documentation.
In the case of rotor assembly, the first step is its measurement and high-speed spinning with simultaneous balancing. After cleaning and maintenance, the rotor is ready for assembly.
On the rotor, the following components are mounted:
- Labyrinth seals
- Coupling sleeve
- Rotor blades
-
Stages of HP inner casing assembly (RTB):
- Assembly of sealing strips
- Turning the diameters of sealing strips
- Assembly of guide vanes
- Turning of shrouds profiles
- Assembly of nozzle boxes
- Boring of nozzle boxes for the ring
- Fitting and assembly of nozzle segments
- Pinning of nozzle boxes and segments
After cleaning and maintenance, the casing is ready for assembly.
- Disassembly of modules
- Disassembly of rotors
- Disassembly of valves
- Cleaning
- Measurements
- NDT’S
- Metallographic testing
- Trepanation sample testing
- Revitalization
- Locksmith works
- Repairs by welding
- PWHT
- Machining of rotor
- Machining of casing
- Rotor assembly
- Casing assembly
The first stage of the overhaul is the disassembly of the turbo unit, which we perform at the customer’s site. The core is then transported to our facility where, after removing the transport protections and dismantling the casing, the rotor is removed from the casing. Next, piston sealing rings, nozzle boxes, sockets for temperature probes, and other small components are disassembled. In the case of required heat treatments, it may be necessary to dismantle labyrinth seals and stationary blades. We are capable of removing shrink rings using a gas torch (shown in the picture).
In the classical approach to valve disassembly, we follow ten steps:
- Valve disassembly
- Visual inspection of valve components
- Magnetic particle testing
- Measurement of component geometry
- Technical assessment – determination of whether the part is usable or needs replacement
- Removal of hardened layers (hardfaced)
- Dimensional rebuilding
- Legalization
- Holes calibration
- Ready assembly
Cleaning turbine components is a crucial part of the overhaul process – every turbine element must be cleaned before undergoing inspections and measurements. The most commonly used method by us is the use of abrasive blasting, employing: glass beads, aluminum oxide, or the “Sponge Jet” method. The cleaning process ensures the removal of debris without compromising the integrity of the original material structure.
We perform measurements of turbine component geometry and prepare full documentation based on them. These measurements are aimed at determining the scope of further repair work. Decisions regarding the extent of work are made based on these measurements. For large-scale measurements such as casings and LP rotors, we utilize a Leica laser tracker, which enables measurements within a radius of 10 meters. In addition to standard measurements, the tracker is also used for aligning turbine components within the casing.
Examinations of turbine components are carried out to detect discrepancies such as cracks, porosity, and any material discontinuities. The examinations are conducted on all accessible surfaces. Any discrepancies found are marked on the part and described in the inspection certificate 3.1 according to EN 10204. The non-destructive testing (NDT) methods used by us include:
- Magnetic Particle Testing (MT)
- Liquid Penetrant Testing (PT)
- Ultrasonic Testing (UT)
- Radiographic Testing (RT)
- Eddy Current Testing (ECT)
- Visual Testing (VT)
Metallographic examinations are conducted to examine the microstructure of metals. Thin layers of material, called replicas of the structure, are taken from the surface of the component. Examination of these samples allows for the assessment of the stability of the material structure and determination of its technical usability.
To determine the mechanical properties of a component, such as:
- tensile strength
- yield strength
- impact toughness
- elongation
- reduction in area
- hardness,
samples in the form of prepared material fragments are extracted from the component using trepanning drills. The holes created in the component as a result of sampling are then sealed with special plugs.
The image shows the material structure before and after revitalization, demonstrating the achieved grain refinement effects. Of course, the obtained effects translate into an increase in the mechanical properties of the material such as tensile strength (Rm), yield strength (Re), and impact toughness (KV).
Our revitalization capabilities are defined by the following furnace parameters:
- Length: 11,000 mm
- Width: 7,500 mm
- Height: 4,000 mm
- Load capacity: 110 T
The removal of defects and inconsistencies resulting from welding is carried out through manual milling with octagonal cutters, which limit localized heat input – grinding discs are not used. For allowable inconsistencies, we employ the process of blending, whereas for defects that can be removed, milling and blending are utilized.
Detected discrepancies in the component are also repaired through welding. After each welding, the welds are re-examined non-destructively, and hardness distribution of the component is conducted in the following areas: base material, heat-affected zone, and weld.
Additionally, we perform rebuilding of functional surfaces through hardfacing. Below is an example of rebuilding the slots under the blades and turbine diaphragms. Welding works are carried out according to recognized WPQR technology.
After welding repair, magnetic particle testing, and hardness testing of repaired areas, the repaired casing undergoes annealing. Annealing involves heating the component, holding it at temperature, and then slowly cooling it down.
Our annealing capabilities depend on the dimensions of the furnace chamber, which are: 5000mm x 7000mm x 1800mm.
As part of the machining of the rotor, specifically its legalization, we carry out the following repairs:
- Refurbishment of the thrust bearing disk surface
- Refurbishment of bearing journals
- Refurbishment of oil seal surfaces
- Blade grooves – legalization
- Grooves for sealing strips – legalization
Maximum dimensions of the rotor:
Length: 7,000 mm
Diameter: 2,300 mm
Load capacity: 8 tons
As part of the mechanical processing of the casing, specifically its legalization, we carry out the following repairs:
- Refurbishment of parting surfaces and profile lowering
- Internal borings
- Socket machining for centering inserts
- Shanks for pitch bolt nuts
- Sealing surfaces
- Lugs and suspensions
- Sockets for probes
- Calibration of threaded holes
All measurements are performed using a Leica Tracker and recorded in measurement metrics.
Boring machine:
- Horizontal traverse (X): 15,500 mm
- Height (Y): 4,500 mm
- Spindle extension (Z): 3,000 mm
- Weight: 80t
Lathe:
- Height (Z): 5,500 mm
- Turning diameter (X): 8,000 mm
- Weight: 100t
Assembly of units and subassemblies is carried out according to documentation, instructions, or client’s orders, or according to our own procedures or instructions developed based on provided technical documentation.
In the case of rotor assembly, the first step is its measurement and high-speed spinning with simultaneous balancing. After cleaning and maintenance, the rotor is ready for assembly.
On the rotor, the following components are mounted:
- Labyrinth seals
- Coupling sleeve
- Rotor blades
Stages of HP inner casing assembly (RTB):
- Assembly of sealing strips
- Turning the diameters of sealing strips
- Assembly of guide vanes
- Turning of shrouds profiles
- Assembly of nozzle boxes
- Boring of nozzle boxes for the ring
- Fitting and assembly of nozzle segments
- Pinning of nozzle boxes and segments
After cleaning and maintenance, the casing is ready for assembly.
